Building the Hardware
There are two steps to building a Hack Clock - constructing the hardware and then developing the software. Depending on your audience you may want to pre-build the hardware and have students focus on building the enclosure and the software to run the clock. You can have students both build the hardware in this section as well as program the software, however assembling the hardware does require some soldering of breakout boards as well as finding & counting the many GPIO pins on both the Raspberry Pi and the breakout boards. Make sure you do proper training on electronics safety, and always keep the age, motor skills & attention span of your audience in mind.
An overview on the hardware build process along with a list of the parts needed is available at http://hackaday.io/project/3413-hack-ready-alarm-clock - this includes some links to buy the pieces online. Some parts may be salvaged from old projects or other consumer electronics you have lying around. A partial list of parts is available at Adafruit via https://www.adafruit.com/wishlists/413935.
Once your parts arrive you'll need to prep your Raspberry Pi. The Hack Clock software was tested using the NOOBS Debian OS distribution, however it is pretty likely that the software will work on other Debian-based Raspberry Pi distributions. Make sure you have connected your Pi to your home network, since code editing will happen via a web interface.
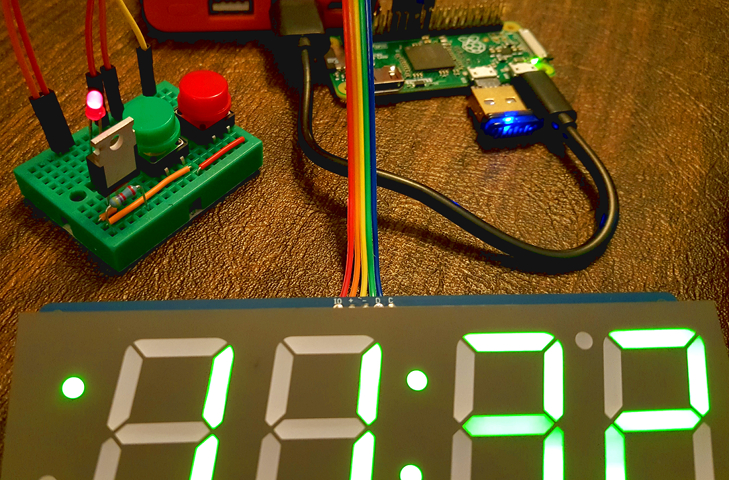
It can be helpful to color code the pins on the Raspberry Pi, the LED logic board and the I2S audio amp. I've used poster paints in simple, primary colors with matching jumper wires to help students match pins together and quickly trace back errors.
Once the Pi is prepped, install the Hack Clock software using the instructions listed at https://github.com/deckerego/hack-clock. Hack Clock is now available as a Debian package, which should make installation a bit easier. Note that uninstalling the software isn't 100% yet... it tends to delete the /srv/ directory if it is empty, and will change your Raspberry Pi settings to use the I2C digital audio instead of the headphone jack. The changes are not destructive and can easily be restored if need be.
After the code is installed and the Pi has started up, find out what your hosname is or your IP address is. Verify you can see the Hack Clock's web page by visiting http://YourHostName:9003/, where "YourHostName" is actually the hostname or IP address of the Raspberry Pi that you will be using. Bookmark or write down this URL - your students will need to refer to it often.
After the setup is complete you can have your students (or yourself) wire up the hardware! The basic steps are: