Setting Up WiFi
Setting up wireless networking on the Raspberry Pi is actually much easier now than it used to be. Around March of 2016, the NOOBS team updated the raspberrypi-net-mods package to read a file off of the SD card and automagically update network settings. This makes setup way easier than plugging in a keyboard, fetching a monitor, and making the change after the OS is installed.
I'll be using MacOS for these examples, but these steps will be similar for Windows Explorer or whatever your file manager of choice is. For the Raspberry Pi OS, in order to get this simple setup working you must have installed NOOBS. Directly flashing an SD card with Raspian or another OS won't work - we need to use the scripts & facilities that ships with NOOBS.
Once NOOBS is installed, insert the SD card into your main Windows/Linux/MacOS
computer. You should see two partitions or disk mounts appear - one of them
will be labelled "BOOT":
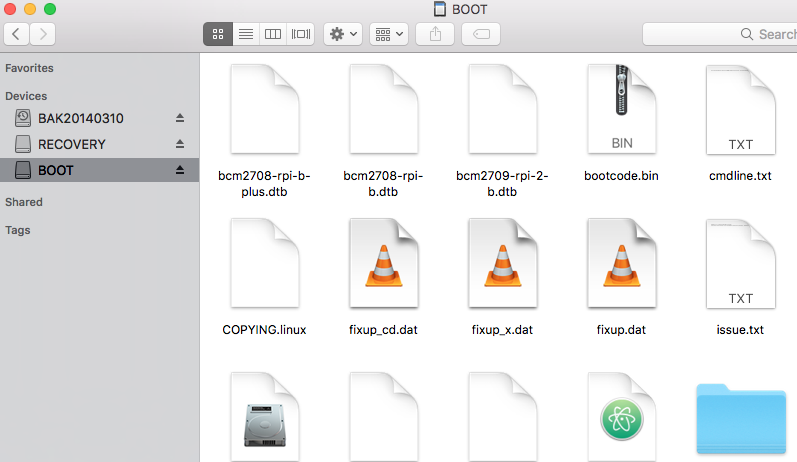
We need to create a file named "wpa_supplicant.conf" in this BOOT mount point. Use a text editor (like Notepad or TextEdit or vim) to create a new wpa_supplicant.conf on this partition of the SD card. You can generate the contents of this file by using Steve Edson's fantastic Config Generator, or by modifying this sample wpa_supplicant.conf.
Finally, create an empty file in the same mount point simply named "ssh" - nothing needs to be inside the file. When the Raspberry Pi starts up, it should see this file and automatically enable SSH connections.
Once you have generated your configuration and saved the file to your SD card, eject both partitions from your computer and insert the SD card back into the Raspberry Pi.
After you boot your Raspberry Pi with this configuration file saved in the BOOT partition, it should connect to your wireless network! If you haven't changed the hostname of your Raspberry Pi, the default should be "raspberrypi". Assuming you haven't change your Pi's name, and if your wireless access point is also your router and DHCP server, within a few minutes you should soon be able to SSH into your Raspberry Pi using:
ssh pi@raspberrypi
Now you can install the Hack Clock software - just follow the instructions listed at https://github.com/deckerego/hack-clock/blob/master/README.md.
Now that your hardware is set up, and once you have installed the Hack Clock software, you can continue to the programming lessons and make your Hack Clock respond to buttons, light up an LED, or play an entire wake-up playlist!